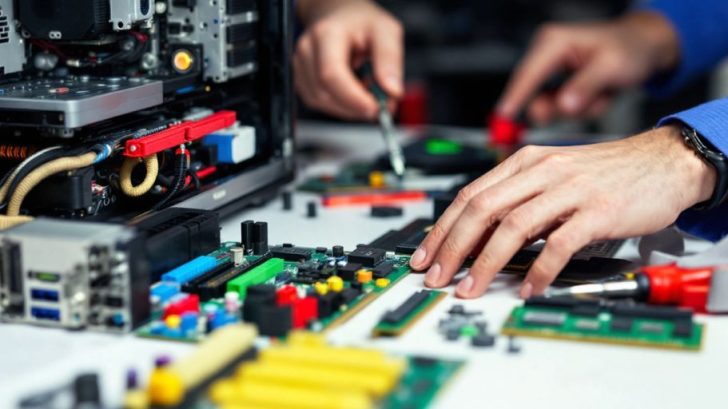
Building a PC can be an exciting yet daunting task, especially with the rapid advancements in technology. This comprehensive guide aims to equip you with the knowledge and tools necessary to build any PC tailored to your needs, updated for 2024.
Key Takeaways
- Understand your primary use case: gaming, content creation, or general use.
- Choose the right components based on your budget and requirements.
- Follow a systematic approach to assembling your PC for optimal performance.
Understanding Your Needs
Before diving into the components, ask yourself: What will I use this computer for? Your answer will significantly influence your choices.
- Hardcore Gaming: Allocate more budget to the graphics card and CPU.
- Content Creation: Focus on CPU and RAM, possibly easing up on the GPU.
- General Use: Look for a motherboard with ample I/O and storage options.
Form Factors and Budgeting
The form factor of your PC case and motherboard is crucial. Here are the common types:
| Form Factor | Description |
|---|---|
| ATX | Standard size with multiple expansion slots. |
| Micro ATX | Smaller, suitable for most users. |
| Mini ITX | Compact, ideal for small builds. |
Budgeting is equally important. If your budget is tight, consider:
- Buying used components.
- Opting for previous generation hardware.
Choosing Your Components
- CPU and GPU: Start with these as they dictate the rest of your build.
- Motherboard: Ensure compatibility with your CPU.
- RAM: Aim for at least 16GB for gaming and content creation.
- Storage: SSDs for speed, HDDs for bulk storage.
- Cooling Solutions: Choose between air and liquid cooling based on your needs.
- Power Supply (PSU): Don’t skimp here; a reliable PSU is essential.
- Case: Ensure it has good airflow and enough space for your components.
- Fans: Consider the type and number of fans for optimal cooling.
Assembly Steps
Step 1: Prepare Your Workspace
- Clear a well-lit area.
- Gather tools: Phillips screwdriver, anti-static wrist strap, and cleaning materials.
Step 2: Install the CPU
- Unbox the motherboard and CPU.
- Align the CPU with the socket and gently place it in.
- Secure the CPU with the retention mechanism.
Step 3: Install RAM
- Insert RAM sticks into the appropriate slots, ensuring they click into place.
Step 4: Install Storage
- Connect SSDs and HDDs to the motherboard.
- Ensure proper alignment and secure connections.
Step 5: Install the Cooling Solution
- Apply thermal paste if necessary.
- Install the CPU cooler, ensuring it’s secure.
Step 6: Motherboard Installation
- Place the motherboard into the case and secure it with screws.
- Connect front panel cables and USB headers.
Step 7: Install the Power Supply
- Secure the PSU in the case and connect it to the motherboard and components.
Step 8: Install the Graphics Card
- Insert the GPU into the PCIe slot and secure it.
Step 9: Cable Management
- Organize cables for better airflow and aesthetics.
Step 10: Power On and Troubleshoot
- Connect your monitor and peripherals.
- Power on the system and enter BIOS to check component recognition.
Final Thoughts
Building a PC is a rewarding experience that allows you to customize your machine to fit your specific needs. By following this guide, you’ll be well-equipped to tackle any build, ensuring you get the most out of your investment. Happy building!


Be the first to comment